The secret to a successful video is to acquire a variety of shots that allow editing choice. It’s no good just filming everything from one camera position using the camera mic. You must carefully plan and organise the whole process.
Our advice is to get a professional crew to help out for at least this step of the process. They will take care of all the camera, sound and lighting for you and this really does make a difference between your film looking great or poor, or at best mediocre.
Cameras can be complex items to operate effectively and the instinctive skills an experienced camera operator brings don’t just appear overnight. Similarly the sound is often overlooked. Poor sound really lowers the standard of your video. And if you have invested all your time, you want to be sure the best viewer experience is recorded.
However if you are shooting yourself follow these rules:
- For each set up record a wide angle view and then separate close angle views. Try to re-run what you shoot and move the camera physically between takes to capture different views and shot sizes. You must think carefully about where you put the camera and ensure that the action doesn’t get masked by something in the foreground. Capturing different shots will allow you cut a sequence together and the change of camera angles keeps the viewers engaged. Cameras are becoming cheaper these days so it’s also worth considering shooting most things on two or more cameras. Perhaps one could be a professional device with the other cameras a high quality prosumer device. Whatever you choose, think about how you are going to sync up the content. It is best for all cameras to record sound to allow you to see and hear the same words spoken and then sync up, taking the quality sound from the main camera. In our experience recording this way, it is best to record for longer durations which takes less time to sync up. Having multiple short clips on multiple cameras can create headaches so longer takes are easier to deal with. The downside is the amount of storage space for the project as you can end up with a BIG project.
- 25p or 50p? This refers to the shooting frame rate of the camera, which is either 25 or 50 frames per second. 25 frames has been the standard for many years but in the past the recordings were interlaced which gives the illusion of 50 frames as half the frame is replaced at 1/25 second intervals. This is smoother on the eye as there is less flicker. Modern cameras shoot what is called progressive which means it records 25 or 50 individual frames per second. 50fps uses more space for storage but in our experience delivers a smoother output and allows more post production techniques to be applied. For example the effect of slowing down a 50fps shot delivers a very smooth slow motion which you don’t get from shooting at 25fps. Shooting interviews at 50fps allows the editing to be tighter. People often say er or um and editing these out is always a good idea where possible. The extra frame rate allows more flexibility with where the edit play head can cut, as this can only be done on individual frames.
- Try to use a tripod at all times to mount the camera on. Unless you are very experienced at holding a camera, tripod shots are more steady, with handheld shots being very wobbly and distracting for the viewer. This is possibly the biggest single thing that can improve the quality of your output.
- Avoid unnecessary camera movements. This is in the form of unnecessary or unmotivated camera pans or unnecessary camera zooms. The zoom function of the camera is the most abused. Again unless you have the experience to do the zoom smoothly and with the interest point of the frame remaining correctly framed it’s best to stop the camera, re-frame and then start recording again. In the edit suite, an editor will never cut away from a shot that is half way through a move, the image jars too much. So the zooming and panning can also have an impact on the pace of your edit.
- Record each shot for at least 5 seconds and if you do any panning, make them smooth throughout, in particular at the start and end. Don’t snatch the panning handle as the camera will jump. It’s good practice to leave a spare 5 seconds before and after any pans are conducted. This will allow you the flexibility when editing to use either the static part of the shot or take the camera movement.
- Don’t just use the tripod at the same height all the time. Try to vary the height of the camera to keep it more engaging. A common trap to fall into is just to keep the camera at a comfortable working height. More often than not the camera will need to be higher or lower than that.
- Use a quality microphone for the audio. Avoid using the camera mic. The camera mic records distant sound and picks up the camera operator breathing and other background noises. A quality mic placed close to the action picks up far better audio and as long as it is out of shot adds real value.
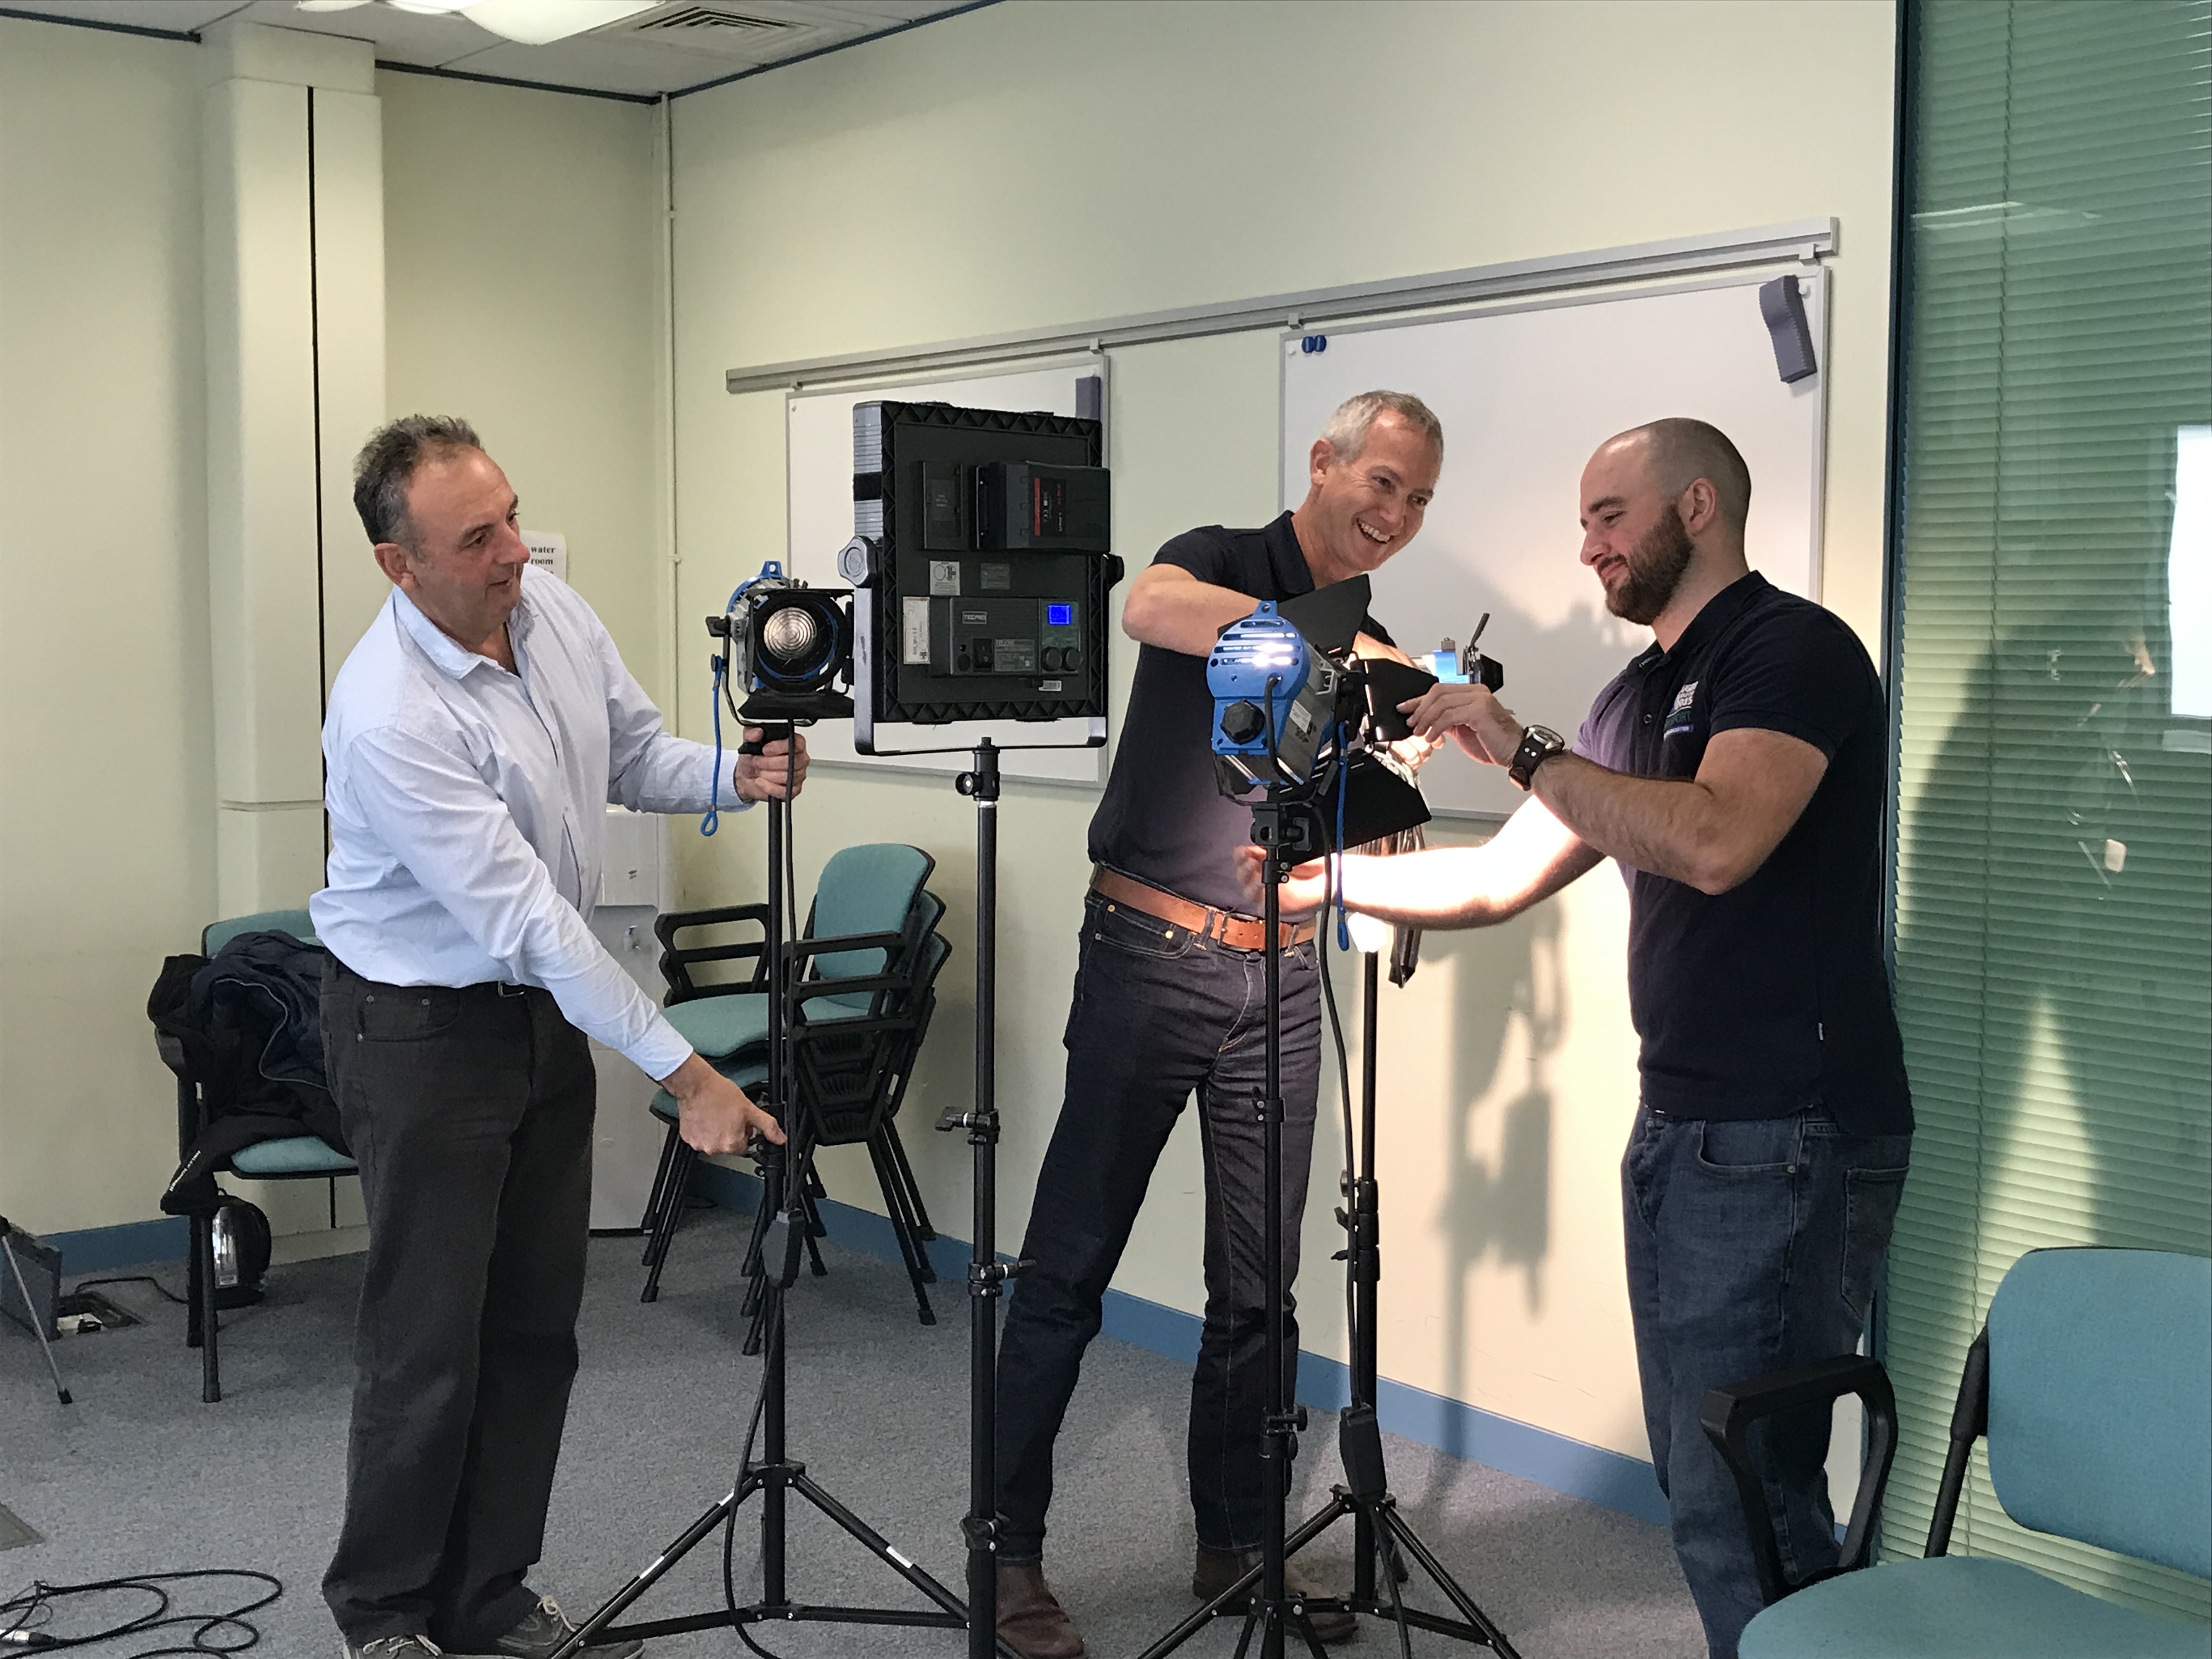
- Use correct lighting. It’s unusual that general room lighting is sufficient. Proper lighting allows the subject to stand out in the frame and makes the whole thing clearer to see. Lighting for video is arguably more skilled than pointing the camera. You must avoid dark shadows, or hot spots. A professional camera operator will bring a box (or two) of lights, and use one light to light one thing. This will allow flexibility to make sure that the right contrast ratio is applied across the screen. Coloured gels can also help. Adding a subtle colour to the background can help the foreground to stand out better.
- For interview filming position the interviewee against a suitable background and if necessary move things around. Avoid cluttered or distracting backgrounds. You want the viewer to focus on your speaker and not what is going on behind them.
- If someone is asking questions get them to sit one side of the camera and talk to the interviewee. Generally it’s best to avoid people talking direct to camera, although this situation does arise from time to time. Ensure the interviewee is relaxed and not nervous. This atmosphere is detected in the recording.
- Ask the interviewee to answer the question succinctly. Our experience is that each answer should be no more than 30 to 45 seconds and the interviewee should incorporate some of the question in the answer. This allows a series of sound bites to be edited together without the interviewer being seen on camera.
- As mentioned in the previous blog, try not to share the exact questions with the interviewee beforehand. Most videos work best with the first answer which is off the cuff. Our experience has been that sharing the questions before hand can lead to complicated answers being remembered which are then promptly forgotten when the camera is switched on!
- Be very careful of causing trip or slip hazards with any cables and avoid rigging lights under smoke detectors. They can go off easily!
Next read our blog 5 of 7 – Post Production
Want to know more? Then why not attend one of our training workshops. For more information go to: www.howtofilm.co.uk
