Guide to Video Production 7 – File exporting

Getting the video into a format that can be shared is very important.  You want all your hard work to be seen clearly and without stutters and glitches.  The best file to export is an H.264 MP4 file.  This seems to be the best format and plays on PC, Mac, iPad and other tablets.   Try different file formats though, as different applications need different file sizes and qualities.

There is a range of encoding software products on the market if your editing suite doesn’t support the one you need. Search online for one that suits your needs.

File Uploading

The easiest method to get your video shown is via YouTube.  This is free to use.  You can design your own YouTube channel and have your company logo etc. as the background.  To get the best results you should upload the highest quality version of your video.  YouTube has the ability to multiple encode different versions and the clever bit is that it auto detects the bandwidth of your internet connection and then plays the appropriate file.  You can override this option as well.

Websites have never been easier to upload videos to.  You will need your web developers to advise on your particular site, but as long as the site is designed in HTML you should be able to share the code from YouTube and then import this direct into your site.  This means there are no video hosting costs to deal with and the video should play on your page.

Our site looks like this www.tympani.co.uk    HTML should allow you to adjust the size of the video window and even the position of the window on the page.

YouTube also helps with SEO.  YouTube is the second largest search engine and having a video loaded on there with appropriate tags added really does help with SEO.

Facebook, LinkedIn and Vimeo are just a few examples of where you can host your video.  Once there all you need to do is share the link to your audience.  Then sit back and wait for the call for the next one!


Want to know more? Then why not attend one of our training workshops. For more information go to:  www.howtofilm.co.uk


Advertisement

Guide to Video Production 6 – Graphics

Graphics can add real value to any video.  Often a simple graphic outlining a process or flowchart allows the viewer to clearly see in a way that a vocal explanation can’t.  Graphics can be simple PowerPoint slides, simple on screen text or bespoke animations.   Whichever you chose be sure they are not over-written. Avoid font sizes of less than 32 to limit the number of words that are displayed.  In our experience simple graphics work best.

PowerPoint has an export option for static slides which should be exported as .TIFF files.  These seem to work best for imports into editing software but other export options also exist within PowerPoint.  For PowerPoint slide animations it’s best to do a separate screen recording of the animation and then import this into your project.  There are a number of screen recording software options available, some of which offer a free demo so look around and see which suits you best.

Text captions can usually be added in the sequence without too much hassle. This can be used for name strap captions and other screens where straight text is needed.


Music

Music can add real emotion to any video.  Used as a background it can improve the viewing experience of the video.  Avoid using pop music, in fact you can only use music that you have the clearance to do so.  Copyright infringement breaks the law so our advice is get the proper clearance to avoid getting prosecuted later.  Pop music can be prohibitive, sometimes well over £5,000 for a simple licence and that’s if you can get the group to agree in the first place.  There are dozens of online music libraries around.  These offer huge selections and variety.  In general music without lyrics are best as they can be edited more easily.  The libraries also help with advice on what clearance is needed and how much that costs.  The price varies accordingly.  Music libraries offer a vast selection of copyrighted music that can be bought for use on a one off or lifetime agreement.

Your music choice should enhance the video and not detract from the content.  Avoid brash music and a tempo that doesn’t suit the content.  You can adjust the levels of the audio as speech comes in and out as well.

Edit Amendments

It’s unlikely that your first edit will be the one that gets used unless it is very simple.  Export the video and circulate this with the stakeholders and gather their feedback.  This is where the script comes in as a document for you to fall back on.  Having the script signed off earlier means your video should match the set expectations closely.  That said there is always room for tweaks and amendments but the overall content should be close.  Absorb the comments and make changes if you can.  Then re-circulate to get the final sign off.


Next read our blog 7 of 7 – File exporting

Want to know more? Then why not attend one of our training workshops.  For more information go to: www.howtofilm.co.uk


Guide to Video Production 5 – Post Production

Editing is a time consuming and creative process.  It’s where the video takes shape.  Modern laptops and basic editing software will allow you to join shots together and build a sequence.

File management is critical.  You will end up with dozens and sometimes hundreds of separate asset files so keep them in one place and label them clearly.  Confusion is easy to create if you don’t have a good asset management folder system in place.  We can’t stress this highly enough.  What we do is to create two sub folders in the main project folder, one for assets and one for exports.  Store anything that is an asset in the asset folder and leave the export folder for later file exports.

The first step is to ingest all the shot material into the system.  Depending on your particular camera, this will vary.  Most cameras these days record to memory cards which tend to be expensive and consequently re-used.  So our advice is to copy the material twice onto two separate hard drives.  This will cover you should one drive be lost, stolen or break.  We have seen them all!  So having two stored versions avoids disaster later.  Once ingested into the computer and the editing software opened, create a project and save it in the project folder.  Next import all the material into the project and create separate bins.  This again makes it easier to navigate around the project.  Perhaps have one bin for interviews, another for cutaways, another for music and another for other assets.

We recommend that transcriptions are created for any interviews.  This is time consuming but it allows you to see on paper what was said.  We break these down into answers and give each one a unique number.  It is easier to talk in reference numbers than describe the contents of each paragraph.

Do a paper edit first.  By that we mean cut and paste the best interview answers or voice over script in a word document and assemble this in the right order.  This is the best way to start the edit process.  It’s clear to see at a glance which bit goes where to tell the story.  Once this is done assemble the shots in this order.

If you are using a voice over commentary it is normal practice for one of the edit team to record a scratch commentary which can be finalised in time and then replaced with a professional voice when needed later.

Once the narrative element of the video is laid down you can then set to work on the pictures.

Choose the shots that best illustrate the point. 

Depending on the pace of your video, this will dictate the length each shot appears for.

You should cut the speed of the pictures sympathetically with the story, and avoid unnecessary and fancy editing transitions that detract from the story.  If you have shot it right you will have lots of editing choices.

Avoid what are called jump cuts which is where two equally sized shots appear one after the other.  The picture jars.  Try to blend in wide shots and close shots together.  This makes the video more engaging.

If your software allows you, build up the sequence in a series of layers with voice-over on one layer, interviews on another and cutaways and graphics on another.  This makes things easier and clearer to see as the project gains complexity.  The edit timeline becomes a complicated jigsaw puzzle but keeping things clearly laid out makes it easier to keep on top of the project.

Save the project at 10 minute intervals.  From experience having a computer crash and losing hours of work is frustrating to say the least!


Next read our blog 6 of 7 – Graphics

Want to know more? Then why not attend one of our training workshops.   For more information go to:  http://www.howtofilm.co.uk


Guide to Video Production 4 – Filming

The secret to a successful video is to acquire a variety of shots that allow editing choice.  It’s no good just filming everything from one camera position using the camera mic.  You must carefully plan and organise the whole process.

Our advice is to get a professional crew to help out for at least this step of the process.  They will take care of all the camera, sound and lighting for you and this really does make a difference between your film looking great or poor, or at best mediocre.

Cameras can be complex items to operate effectively and the instinctive skills an experienced camera operator brings don’t just appear overnight. Similarly the sound is often overlooked.  Poor sound really lowers the standard of your video.  And if you have invested all your time, you want to be sure the best viewer experience is recorded.

However if you are shooting yourself follow these rules:

  1. For each set up record a wide angle view and then separate close angle views.  Try to re-run what you shoot and move the camera physically between takes to capture different views and shot sizes.  You must think carefully about where you put the camera and ensure that the action doesn’t get masked by something in the foreground.  Capturing different shots will allow you cut a sequence together and the change of camera angles keeps the viewers engaged.  Cameras are becoming cheaper these days so it’s also worth considering shooting most things on two or more cameras.  Perhaps one could be a professional device with the other cameras a high quality prosumer device.  Whatever you choose, think about how you are going to sync up the content.  It is best for all cameras to record sound to allow you to see and hear the same words spoken and then sync up, taking the quality sound from the main camera.  In our experience recording this way, it is best to record for longer durations which takes less time to sync up.  Having multiple short clips on multiple cameras can create headaches so longer takes are easier to deal with.  The downside is the amount of storage space for the project as you can end up with a BIG project.
  1. 25p or 50p? This refers to the shooting frame rate of the camera, which is either 25 or 50 frames per second.  25 frames has been the standard for many years but in the past the recordings were interlaced which gives the illusion of 50 frames as half the frame is replaced at 1/25 second intervals.  This is smoother on the eye as there is less flicker.  Modern cameras shoot what is called progressive which means it records 25 or 50 individual frames per second.  50fps uses more space for storage but in our experience delivers a smoother output and allows more post production techniques to be applied.  For example the effect of slowing down a 50fps shot delivers a very smooth slow motion which you don’t get from shooting at 25fps.  Shooting interviews at 50fps allows the editing to be tighter.  People often say er or um and editing these out is always a good idea where possible.  The extra frame rate allows more flexibility with where the edit play head can cut, as this can only be done on individual frames.
  1. Try to use a tripod at all times to mount the camera on. Unless you are very experienced at holding a camera, tripod shots are more steady, with handheld shots being very wobbly and distracting for the viewer.  This is possibly the biggest single thing that can improve the quality of your output.
  1. Avoid unnecessary camera movements. This is in the form of unnecessary or unmotivated camera pans or unnecessary camera zooms.  The zoom function of the camera is the most abused.  Again unless you have the experience to do the zoom smoothly and with the interest point of the frame remaining correctly framed it’s best to stop the camera, re-frame and then start recording again.  In the edit suite, an editor will never cut away from a shot that is half way through a move, the image jars too much.  So the zooming and panning can also have an impact on the pace of your edit.
  1. Record each shot for at least 5 seconds and if you do any panning, make them smooth throughout, in particular at the start and end. Don’t snatch the panning handle as the camera will jump.  It’s good practice to leave a spare 5 seconds before and after any pans are conducted.  This will allow you the flexibility when editing to use either the static part of the shot or take the camera movement.
  1. Don’t just use the tripod at the same height all the time. Try to vary the height of the camera to keep it more engaging.  A common trap to fall into is just to keep the camera at a comfortable working height.  More often than not the camera will need to be higher or lower than that.
  1. Use a quality microphone for the audio. Avoid using the camera mic.  The camera mic records distant sound and picks up the camera operator breathing and other background noises.  A quality mic placed close to the action picks up far better audio and as long as it is out of shot adds real value.
  1. Use correct lighting. It’s unusual that general room lighting is sufficient.  Proper lighting allows the subject to stand out in the frame and makes the whole thing clearer to see.  Lighting for video is arguably more skilled than pointing the camera.  You must avoid dark shadows, or hot spots.  A professional camera operator will bring a box (or two) of lights, and use one light to light one thing.  This will allow flexibility to make sure that the right contrast ratio is applied across the screen.  Coloured gels can also help.  Adding a subtle colour to the background can help the foreground to stand out better.
  1. For interview filming position the interviewee against a suitable background and if necessary move things around. Avoid cluttered or distracting backgrounds.  You want the viewer to focus on your speaker and not what is going on behind them.
  1. If someone is asking questions get them to sit one side of the camera and talk to the interviewee. Generally it’s best to avoid people talking direct to camera, although this situation does arise from time to time.  Ensure the interviewee is relaxed and not nervous.  This atmosphere is detected in the recording.
  1. Ask the interviewee to answer the question succinctly. Our experience is that each answer should be no more than 30 to 45 seconds and the interviewee should incorporate some of the question in the answer.  This allows a series of sound bites to be edited together without the interviewer being seen on camera.
  1. As mentioned in the previous blog, try not to share the exact questions with the interviewee beforehand. Most videos work best with the first answer which is off the cuff.  Our experience has been that sharing the questions before hand can lead to complicated answers being remembered which are then promptly forgotten when the camera is switched on!
  1. Be very careful of causing trip or slip hazards with any cables and avoid rigging lights under smoke detectors. They can go off easily!


Next read our blog 5 of 7 – Post Production

Want to know more? Then why not attend one of our training workshops.  For more information go to:  www.howtofilm.co.uk


Guide to Video Production 3 – Preparing for the Shoot

A recce visit prior to the shoot to see the location and meet with all the participants who are likely to appear is really important.

It may be necessary for all participants to sign a release form saying they are happy to be filmed and for the material to be used.  This will cover your back later should they turn round and say that they never gave you permission to use their material.  Our experience is that this is an unlikely occurrence as most people who offer support are generally the type of person not to change their mind later.

Never film people who are not happy or willing to take part.  It just isn’t worth the hassle!

During the preparation meetings you can set expectations and answer any concerns.  You should also walk the course and go round all the areas that are likely to be filmed, and then assign each area for each relevant part of the script.

Production Schedule

This is another really important document.  An accurate timetable of the filming activities is important to share.  This will allow you to allocate time in each area which must reflect the complexities of the requirement.  This is important as it is all too easy to get sidetracked and film masses of material that is interesting to look at, but has limited space in the end film.  Having a schedule allows you to keep on track throughout the day.

Being fully prepared will maximise your shooting time.

Interviews

If your shooting has interviews then you should prepare a list of questions to ask the interviewee.  Try not to share the precise list, despite being directly asked, which often happens.  We have had experience on many occasions of people learning complicated answers and then forgetting this when the camera turns on.  This can be awkward.  Try to just share the general areas of questions to allow them to prepare.  The interview should be conversational, but each question should cover one point and one point only.  It’s best to have follow up questions.  Another reason for this is that this style delivers shorter answers.  Videos these days are short so long waffling answers with mixed messages are difficult to edit.  Short questions are much simpler to deal with later.

Permissions

Sadly these days you can’t just turn up and film anywhere. Security, understandably, have concerns about cameras.  Always establish who owns the building and environment where you are likely to film.  This even includes filming inside meeting rooms in corporate buildings.  These are often leased and the landlord has requirements to be informed.  This is often just a casual email but you don’t want someone turning up on the shoot and stopping the action.

Are you going to the right place?

Sounds obvious but many businesses have multiple locations and entrances.  A lot of time is wasted by turning up at the wrong place or unloading at the wrong door.  Prep work up front establishes where you should be.

B Roll

Background filming is often the glue needed to illustrate most videos.  This will involve permissions of the people involved.  Our experience is that most people don’t mind being on camera, but there are folk who would rather not.  As we said before make sure that the people you are offered are happy to be on camera.

Insurance

You must have public liability for any commercial filming.  Some sites demand copies of the document in advance, but it’s a good idea to carry a photocopy with you.

Site safety

Any electrical equipment should be PAT tested every year and have an in date sticker on the device.  Again, some buildings demand to see what is being plugged in.  These days LED lighting has removed the need to plug in and this type of lighting is safer as there are no cables, they don’t get hot, and are easier to move around.  If you do need to run cables it’s a good idea to carry cable covers in the form of rubber mats.  Sticking cables to carpet should be avoided as this often leaves sticky marks which is never popular.

Crew wellbeing

Think of your crew.  Where can they get lunch or water on the day? What other protective clothing might be needed?  Are steel toe boots needed as well as high vis vests.  Check before you turn up so necessary arrangements can be made.


Next read our Blog 4 of 7 – Filming

Want to know more? Then why not attend one of our training workshops.  For more information go to:  www.howtofilm.co.uk


Guide to Video Production 2 – Storyboard/Scripting

Lay out the video in a paper document in the order you expect it to run.  The best way to do this is to create a document in table form with 2 columns and multiple rows.  This will allow you to use one column for the narrative content i.e. what is going to be said, and the second column contains details on the visual content i.e. what it is to be filmed.  Use a separate row for each set up.  This will allow you to cut and paste the document around easily as the project develops.

We’ve never worked with a script yet that has remained in the same order throughout so having the script in table form is a great tip.

To start with this can be very rough to get the flow, with detail being added once the skeleton is formed.

The film should have a beginning, middle and end with each section required to deliver a separate part of the message.  Avoid jumping around too much as this can confuse the message.   Don’t worry about the precise order too much to start with, just write it all down.  You can move things around later, but be sure to finalise the order as far as you can before you shoot.  This ensures you film the right bits and in the right quantities so you don’t waste time filming loads of material that has little chance of ending up in the final film.

Circulate this document with your stakeholders and absorb their comments. If necessary obtain their sign off that the document is a fair reflection of what the content is to be.  It’s a common situation for people to forget what they’ve asked for along the way, so having sign off avoids awkward conversations later.

Interview planning

If you’re including interviews in your film then think about what you want the interviewee to say and design a list of short questions that draw out the right points.  Interviews are a great way to hear the story straight from the horse’s mouth and if you’re filming your company it allows the faces of the organisation to be seen.  It’s common practice for the interviewer not to be seen or heard in the final video.  If the duration is only 3 minutes, why waste screen time with questions?  Ensure the questions are short, that they can’t be answered with Yes or No and that each question tackles just one point.

It’s a great idea to get the interviewee to recap some of the question in the answer.  This puts it in context.  For example if you were to ask “what is the weather like today” they should reply “the weather is very sunny today” rather than “it’s sunny”.  Try to avoid them saying things like “as I said earlier” or list items with numbers.  You may not use the previous items.

It’s common to interview each person for 10 to 15 minutes.  This requires editing later, but in our experience this length of interview allows short soundbites to be extracted from separate answers and joined together.


Next read our Blog 3 of 7 – Preparing for the shoot

Want to know more? Then why not attend one of our training workshops.  For more information go to: www.howtofilm.co.uk


Guide to Video Production 1 – Planning

Video is a powerful business communication tool.  YouTube is now the second largest search engine on the planet, and with social media utilising the power of video there has never been an easier way to show off your products or services, or deliver important messages across your organisation.

If you are using video and shooting yourself, are your videos turning out the way you expect them to be?  Are you able to shoot and edit the right material allowing you to use the video as you intended?  Are you able to show your customers the true face of your company and reflect your company values?

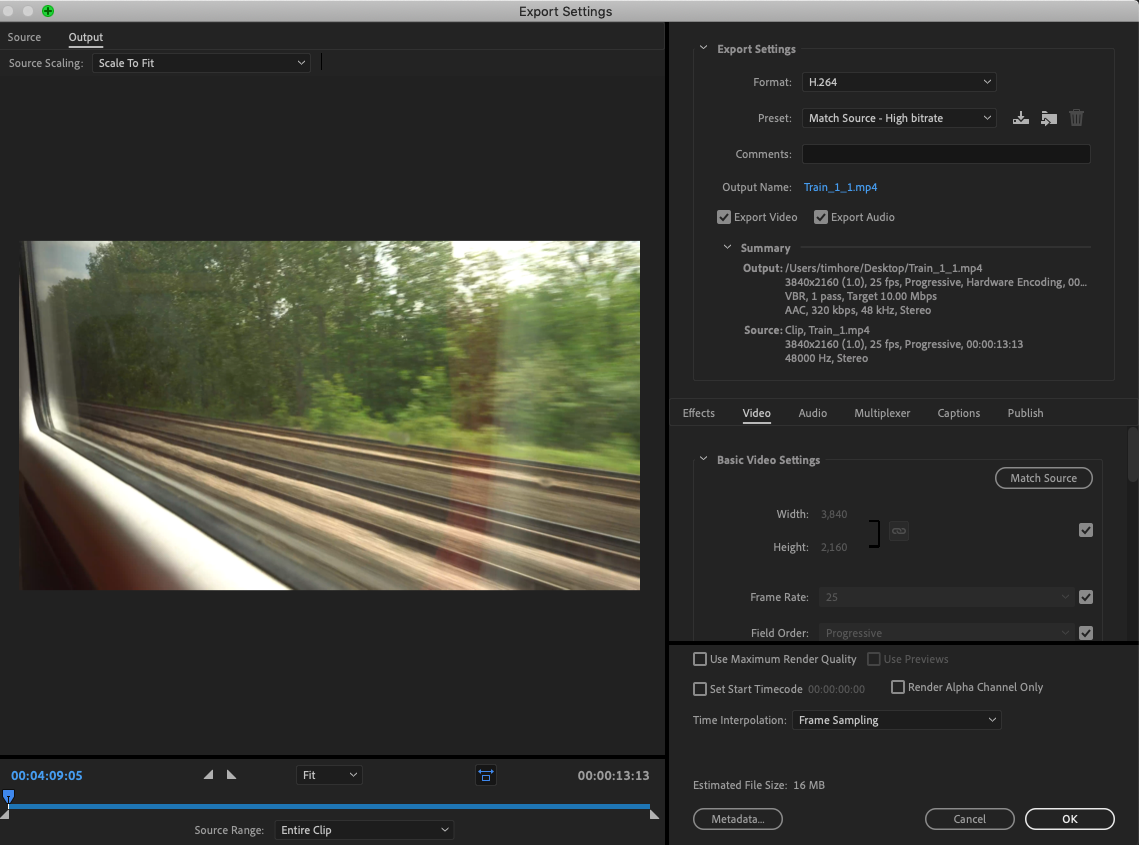
If you’re not already using video as a sales, marketing, training or general communication tool then you could be losing out.  Camera and editing equipment has become more affordable over recent years.  It is now possible to film on a domestic grade camera and edit using a standard laptop computer, and have the same flexibility that complex edit suites used to have just a few years ago.

We’ve created a guide to take you through the key steps and highlight how a professional video production company would approach the project.   The aim is to help you avoid some of the main traps that people often fall into, and if you follow what we suggest then you will achieve better results.

A professional video company will always create better results than home produced material, but there are many applications where home produced material is adequate.

Just like most things, the key to a successful project is being organised and well planned.  Having a proper plan allows for deviations to take place on the day, but being organised ensures you keep the final video in mind at all times.  Video production can be a complex process and without the proper planning and execution may yield poor results, which not only use up a lot of your time, but also may have the opposite effect of what you are trying to create.

You must establish what and where you are to film, and what the messaging will be.  What do you want the viewers to do once they have viewed the video, and what is the assumed knowledge of the viewer to start with.  All of this has a bearing on how the video is created.

 Programme style

In your planning phase you should consider the visual style that is best suited to your message.  The most common basic choices are as follows:

  1. Presenter talking to camera
  2. Interviewee talking to an invisible interviewer
  3. Voice over narration
  4. Captions and text

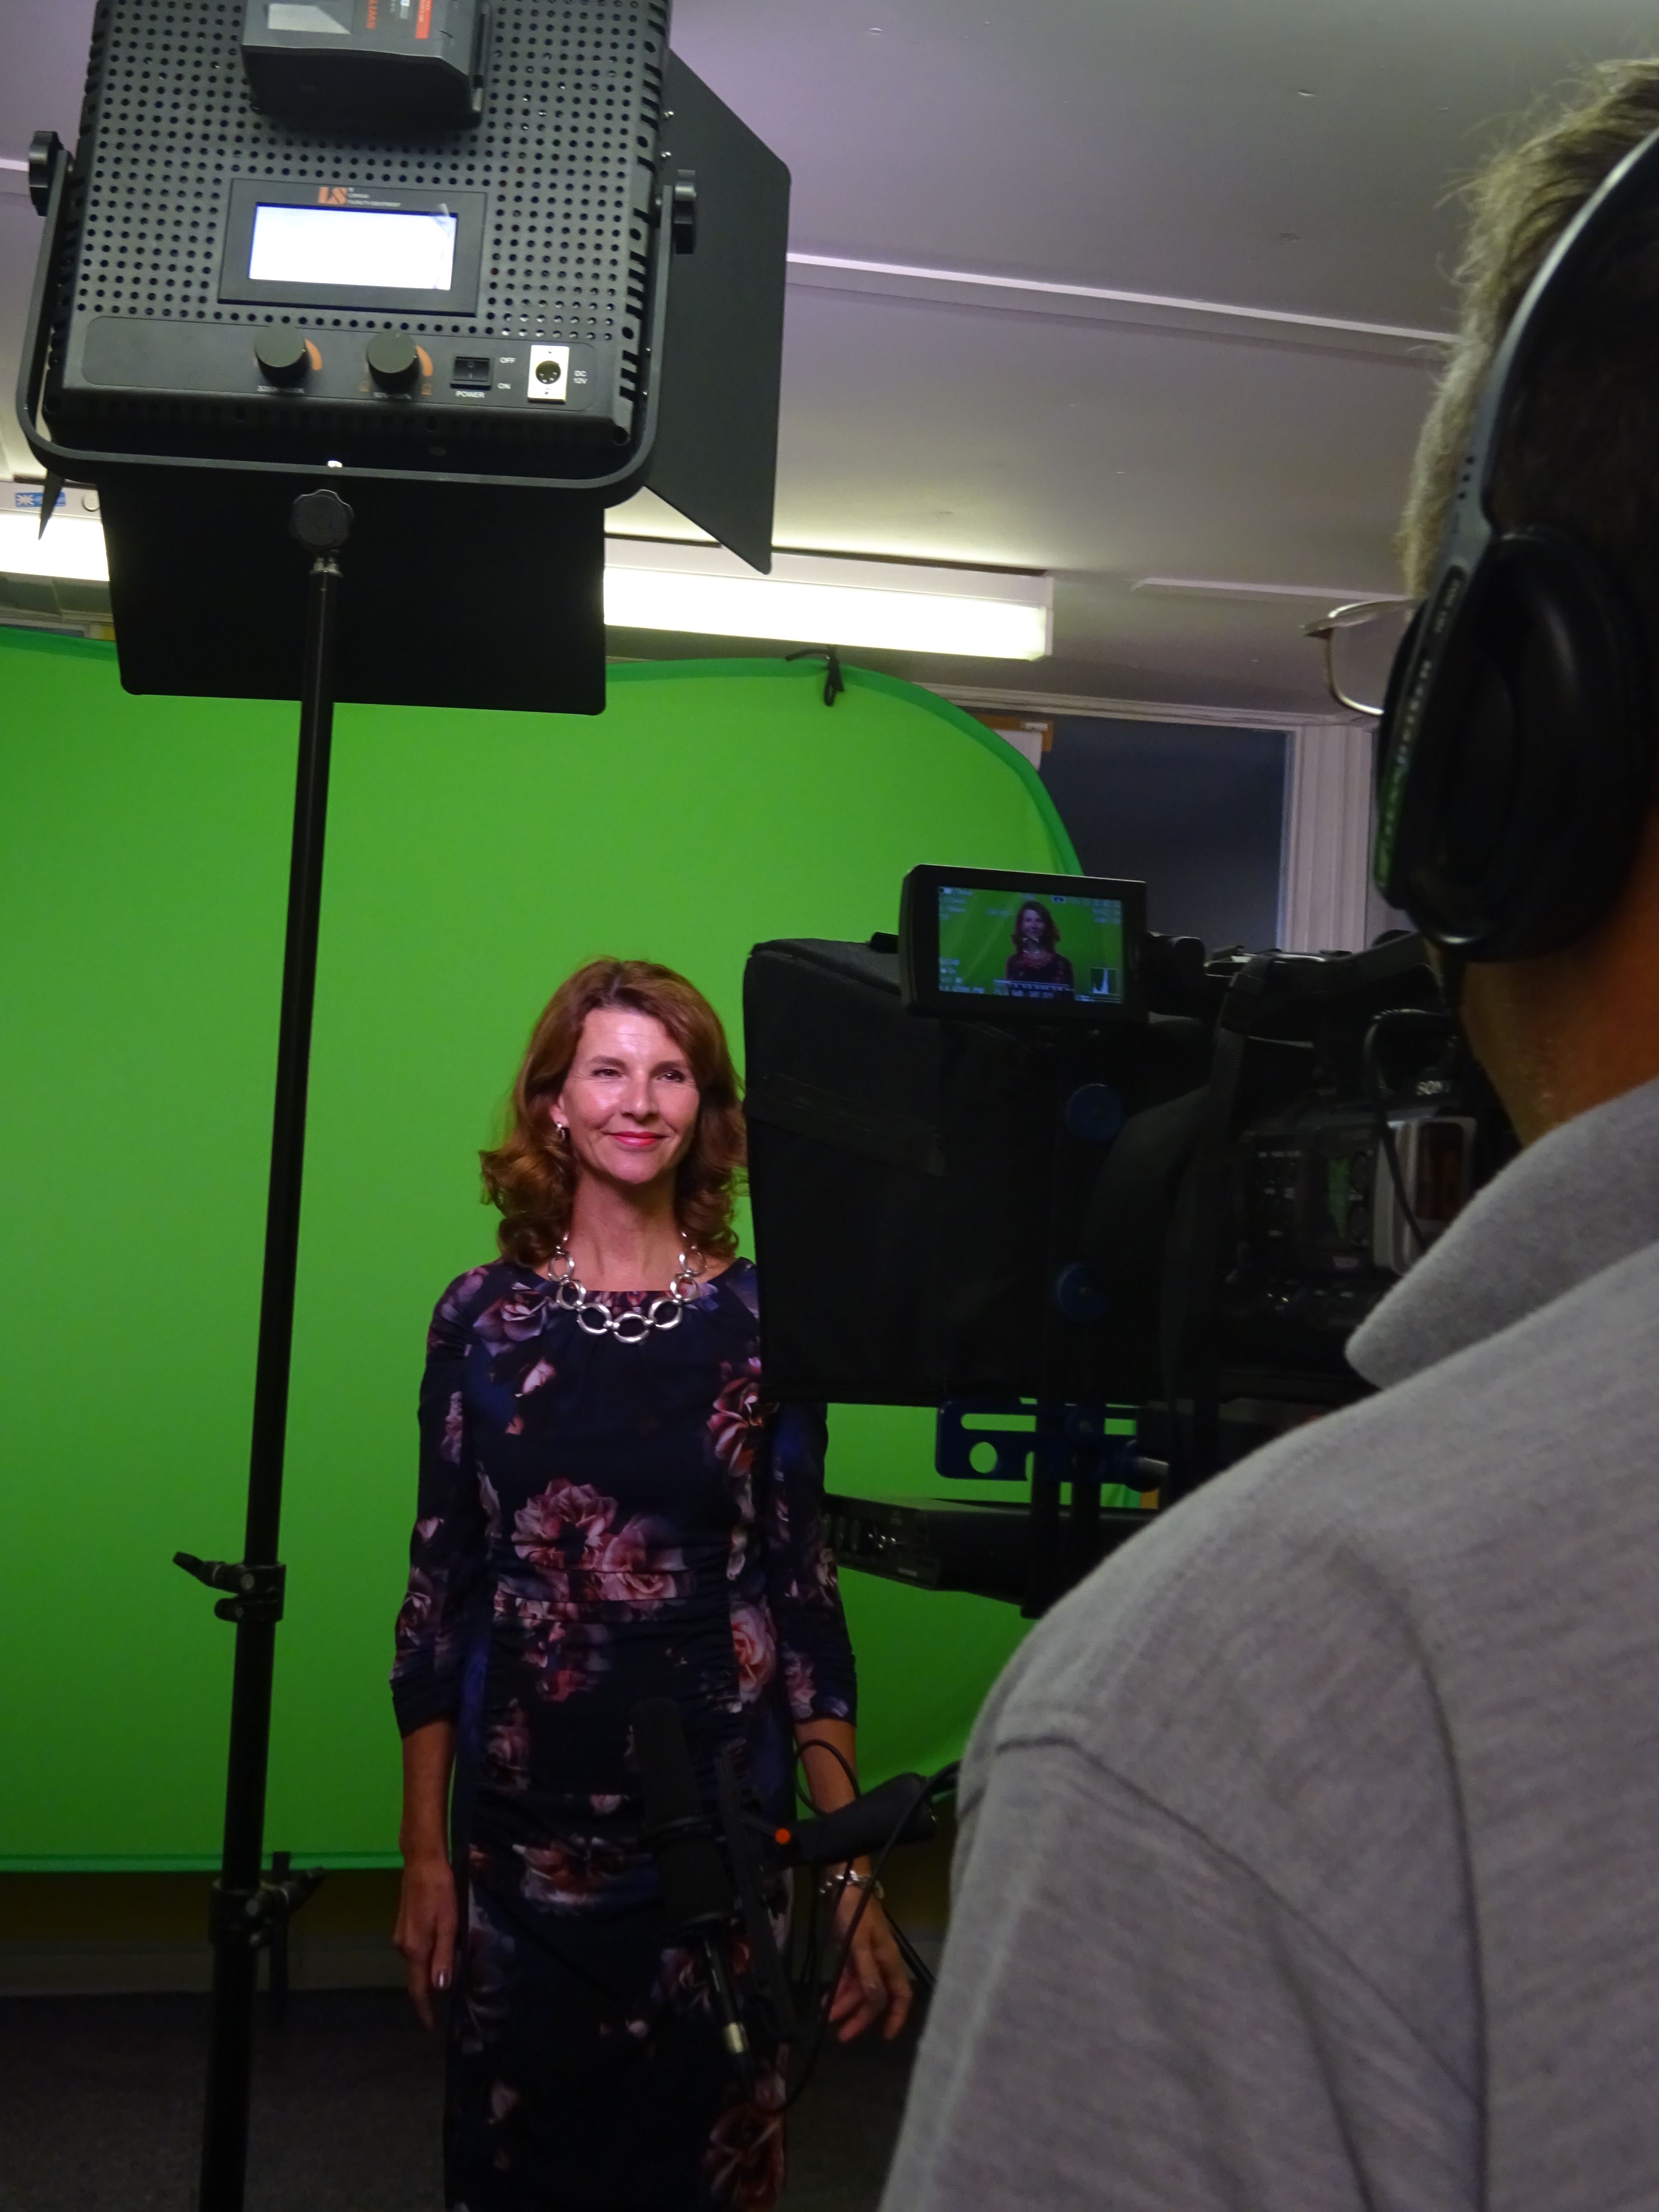
If you opt for an in vision presenter you should choose carefully who is to appear in front of the camera.  Presenting to camera is a good way to get lots of information across but is a hard skill to acquire.

An alternative is the interview technique.  Here the on screen interviewee answers questions which are best asked by an interviewer sitting by the side of the camera.  If you choose this option ensure one question tackles just one point as there will be no interaction between the interviewer and interviewee.

You should also consider where the video is going to be used.  For example if it’s mainly for an office reception or exhibition playback, then it’s likely that the sound will be turned down.  In this case you must plan to ensure the message is still relayed some other way.  This could be floating captions and other graphics.  If the video is going to be seen by individuals online via your website, social media or YouTube, or in presentations, then the narrative can be shared by voice.

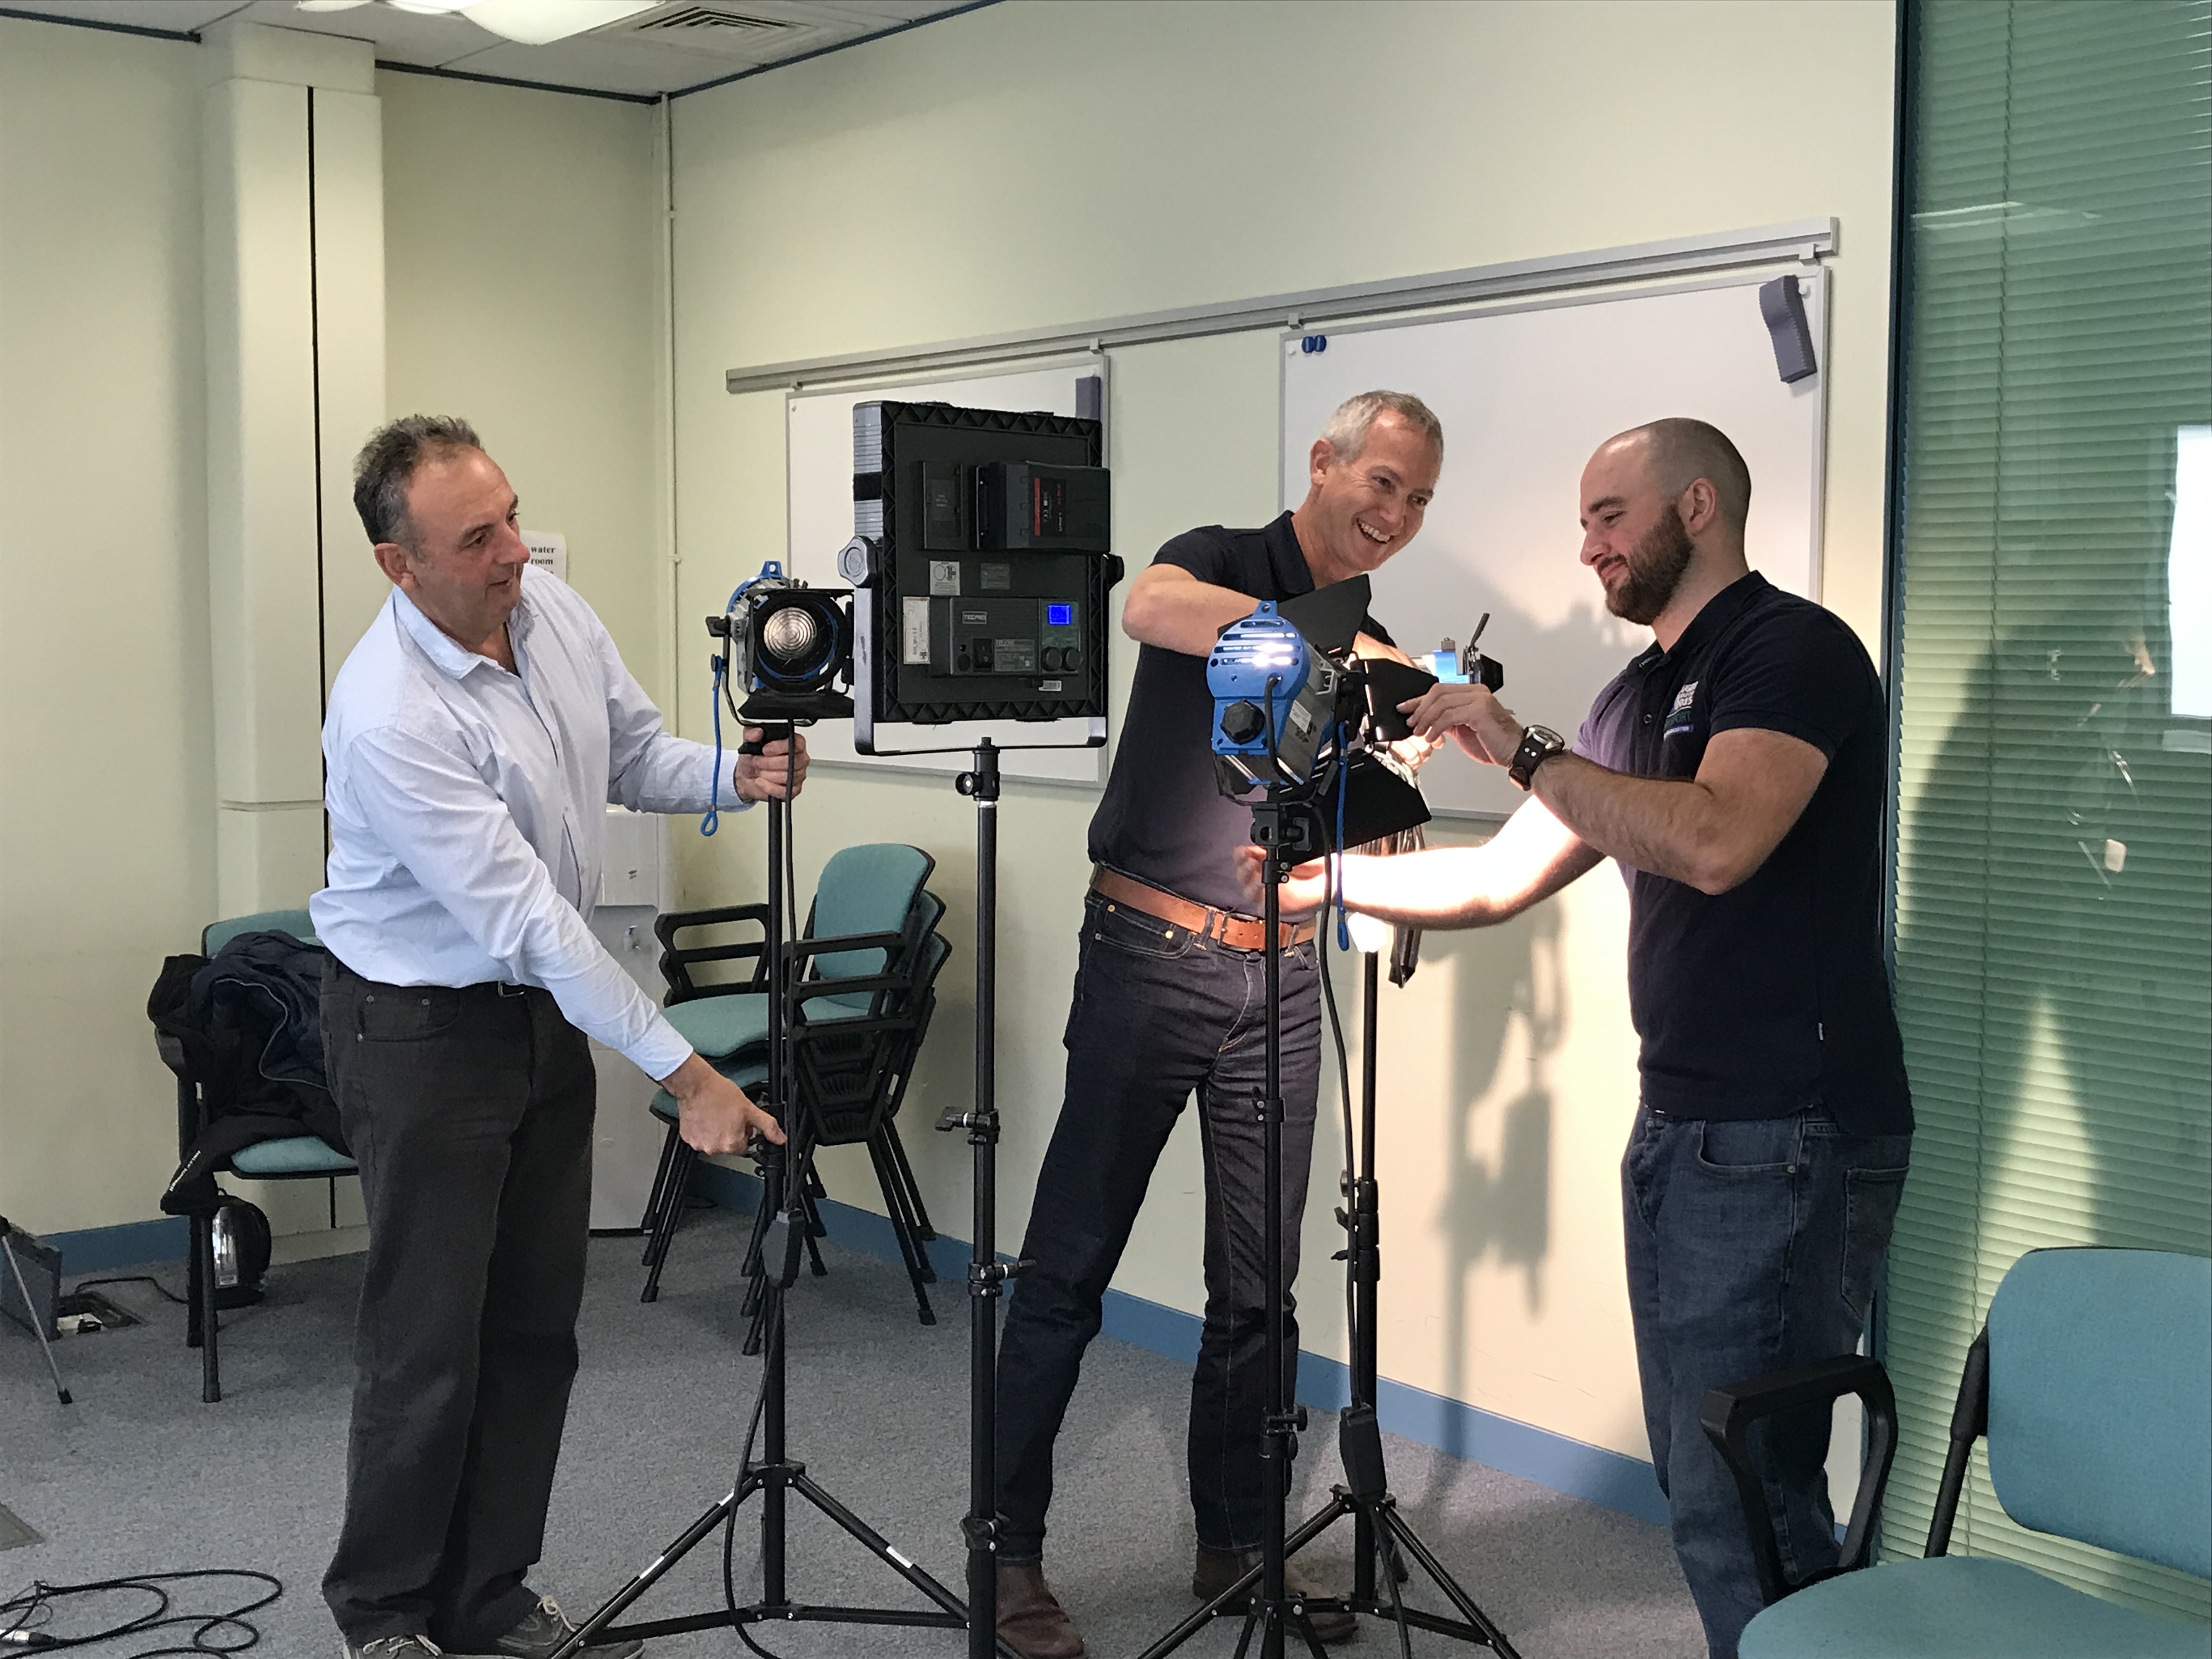
You must think about how and where all the filming is to be done.  You should think of the practicalities of the filming and whether any special permissions or authorisations are needed to allow you to film.  In some circumstances it’s a good idea to get participants to sign a release form stating they are happy for their material to be used.  Filming on the street often calls for Police permissions to be granted and some councils demand an extra payment.  So check out the implications of where you want to film.

During the planning phase, face to face meetings with interested parties are vital.  This allows the goals to be set, and expectations managed.  It’s vital that everyone who is involved in the process understands their involvement and what is expected of them.

Duration

This is a big consideration for the whole project.  The internet has changed the way that videos are viewed.  In days gone by, it was common for a corporate video to be 15 minutes or longer, taking the viewer on a journey through the company and delivering a large amount of content.  Now the viewers don’t often stay to watch anything much over 3 minutes and if the video doesn’t grab their attention straight away people switch off.  It’s better to create several short videos and allow the viewer to browse and choose what they want to watch.

You should plan your video accordingly.  From a scripting point of view 3 minutes is about 600 words or so.  As this is such a low number it’s vital that every word counts and there is no waffle or repetition.


Next read our Blog 2 of 7 – Storyboard/Scripting

Want to know more? Then why not attend one of our training workshops.  For more information go to:  www.howtofilm.co.uk


Corporate video is dead….. long live video

shutterstock_92423836

Sounds like a cry from the succession of a new monarch but traditional video as we know it is in decline, possibly dying, and the new “king” is in succession.
The attention span of viewers is becoming shorter and the amount of content bombarding corporate executives is growing. This makes people time poor, whist remaining hungry for new ways to absorb information in a better way. Video is a perfect fit for many people who prefer to watch their content rather than read. Changes in viewer expectation, mostly spurred on through social media, is lowering the expected standard in many situations. People are now expecting their professional environment to match what they accept at home.

The market space for traditional “corporate” videos is becoming stagnant. There will always be a need for professional support to create quality content that is high in production value created by experienced professionals. However, this style of video is being overtaken by the need for much more content that is a bit rough around the edges, but cheap and easy to do. There is a growing need for disposable video with a shorter shelf life and much smaller more targeted viewing audience. One way to meet this change is for people to film themselves and accept a lower overall production quality.

In the same way that budget airlines and Uber have affected customer habits for transportation, the explosion of social media and YouTube is now also having an impact right across the corporate video production industry, changing the perception of what is “good” to watch. This change is also having a direct impact on the television industry which has been largely unchanged for many years.

Who would have thought that Amazon would become a major global player in television production and delivery, well that time is coming fast and is the future of broadcasting. I fear the future is bleak for traditional broadcast organisations unless they make wholesale changes and fast. The new broadcasters are fast to adapt to changes in viewer expectation and respond to what they want in a format they want to receive it in. The broadcasters are not adapting quickly enough, preferring to give us endless variations on legacy formats and programme ideas that have been the same for many years. People are becoming bored with this and switching to alternative forms of entertainment.

All of this has had a direct impact on what companies are prepared to spend on their video content. The current “just in time” mentality means that advanced planning utilising external resources is deemed a luxury. The expectation is to film something today and then make up the story later. Consequently the employment of external film crews is becoming less common with companies having a go themselves on whatever equipment they have to hand. It is now possible to capture high quality images from basic equipment that was not possible even a few years ago. Whether the industry likes it or not, changing technology makes it possible to record good quality images and video on mobile phones. The quality of video cameras is also set to improve with a lowering price point making this a viable proposition to many more people.

Companies are using video more, but they use it differently, gathering footage themselves with little or no understanding of the basics or knowing where to begin. So where does that leave the corporate production industry in the future? Well, in short, they need to adapt to the changing market and provide companies with what they need. By helping companies to shoot footage themselves and guide them on the editing process they can remain relevant and viable. Simply just supplying the same services is no longer acceptable to a technology savvy client, they have to offer and do more to suit the changing expectation.

The good news for the industry is that editing and post production are likely to remain as sought after skills. Pointing a camera for simple things is perceived as relatively easy to do, but editing remains a time consuming and fiddly process. Editing is a blend of understanding production values and combining this with keyboard skills around the software. By working with supplied content a good editor can correct pretty much anything thrown their way, be this colour grading, framing, adjusting and balancing the audio, blending in music and captions and so on. The production values that are applied to high end productions are still relevant to even the lowest cost project. The trick for the industry is to give the customer what they need and with a fast turnaround and at the right price point. The customer then take the benefit from the immediate filming requests they receive knowing that they can be supported in the back end with professional editing. This will allow the customer to focus on their day job which is more than likely to be more complex with more time pressure than ever before. Taking the time to edit doesn’t fit their diary but half an hour to film the CEO does.

Through providing correct training and support, the industry that I have been part of for decades can remain relevant and help clients to do more but with less money.

So the future is bright for the video industry. It might not be in the way that we all used to work, but if we are to survive we need to learn and adapt to the new ways of corporate thinking…. Long live video!

By Tim Hore, Technical Director, Tympani Productions

Tympani has been working with many global organisations since 2001 as well as with healthcare trusts and educational establishments. Based on backgrounds in broadcast television and a desire to help people to learn new skills, we help companies with face to face training using phones to film and basic edit steps to create short talking head type recordings.